Azure Auth Series — Blog 1: Basic Login with Microsoft Entra ID#
You're building a web app and need users to sign in with their work or personal Microsoft account. You want it done right — industry-standard protocols, token management handled for you, and a clean user experience. No rolling your own auth. No password databases. Just enterprise-grade identity from day one.
In this first blog of the Azure Auth Series, I'll walk you through building a complete authentication flow using:
- 🔐 Microsoft Entra ID (Azure AD) as the identity provider
- ⚛️ Next.js 14 with App Router for the frontend
- 📦 MSAL React for token acquisition and session management
- 👤 Microsoft Graph API to fetch user profiles and photos
- 🎨 shadcn/ui + Tailwind CSS for a polished UI
By the end, you'll have a working app where users sign in with Microsoft, land on a protected dashboard showing their profile, and sign out cleanly — all in about 200 lines of auth-related code.
The Azure Auth Series#
This blog is part 1 of a 7-part series that progressively builds from basic login to production-grade Zero Trust architecture:
| Blog | Topic | What You'll Learn |
|---|---|---|
| 1. Basic Login | You are here | Sign in with Microsoft Entra ID |
| 2. Protected API | Backend auth | Build a FastAPI backend that validates tokens |
| 3. RBAC | Authorization | Control access based on user roles |
| 4. Managed Identity | Zero secrets | Deploy to Azure without storing credentials |
| 5. Multi-Tenant | Organization support | Let users from any org sign in |
| 6. Service-to-Service | OBO + Client Credentials | Authenticate services to each other |
| 7. API Gateway | APIM | Centralize auth with Azure API Management |
Each blog builds on the previous one, but Blog 1 works standalone.
What We're Building#
A Next.js application where users can:
- Sign in with their Microsoft account via a popup-based OAuth flow
- View a protected dashboard with their profile from the Graph API
- See authentication metadata (tenant ID, account info, tokens)
- Sign out securely
Live Demo#
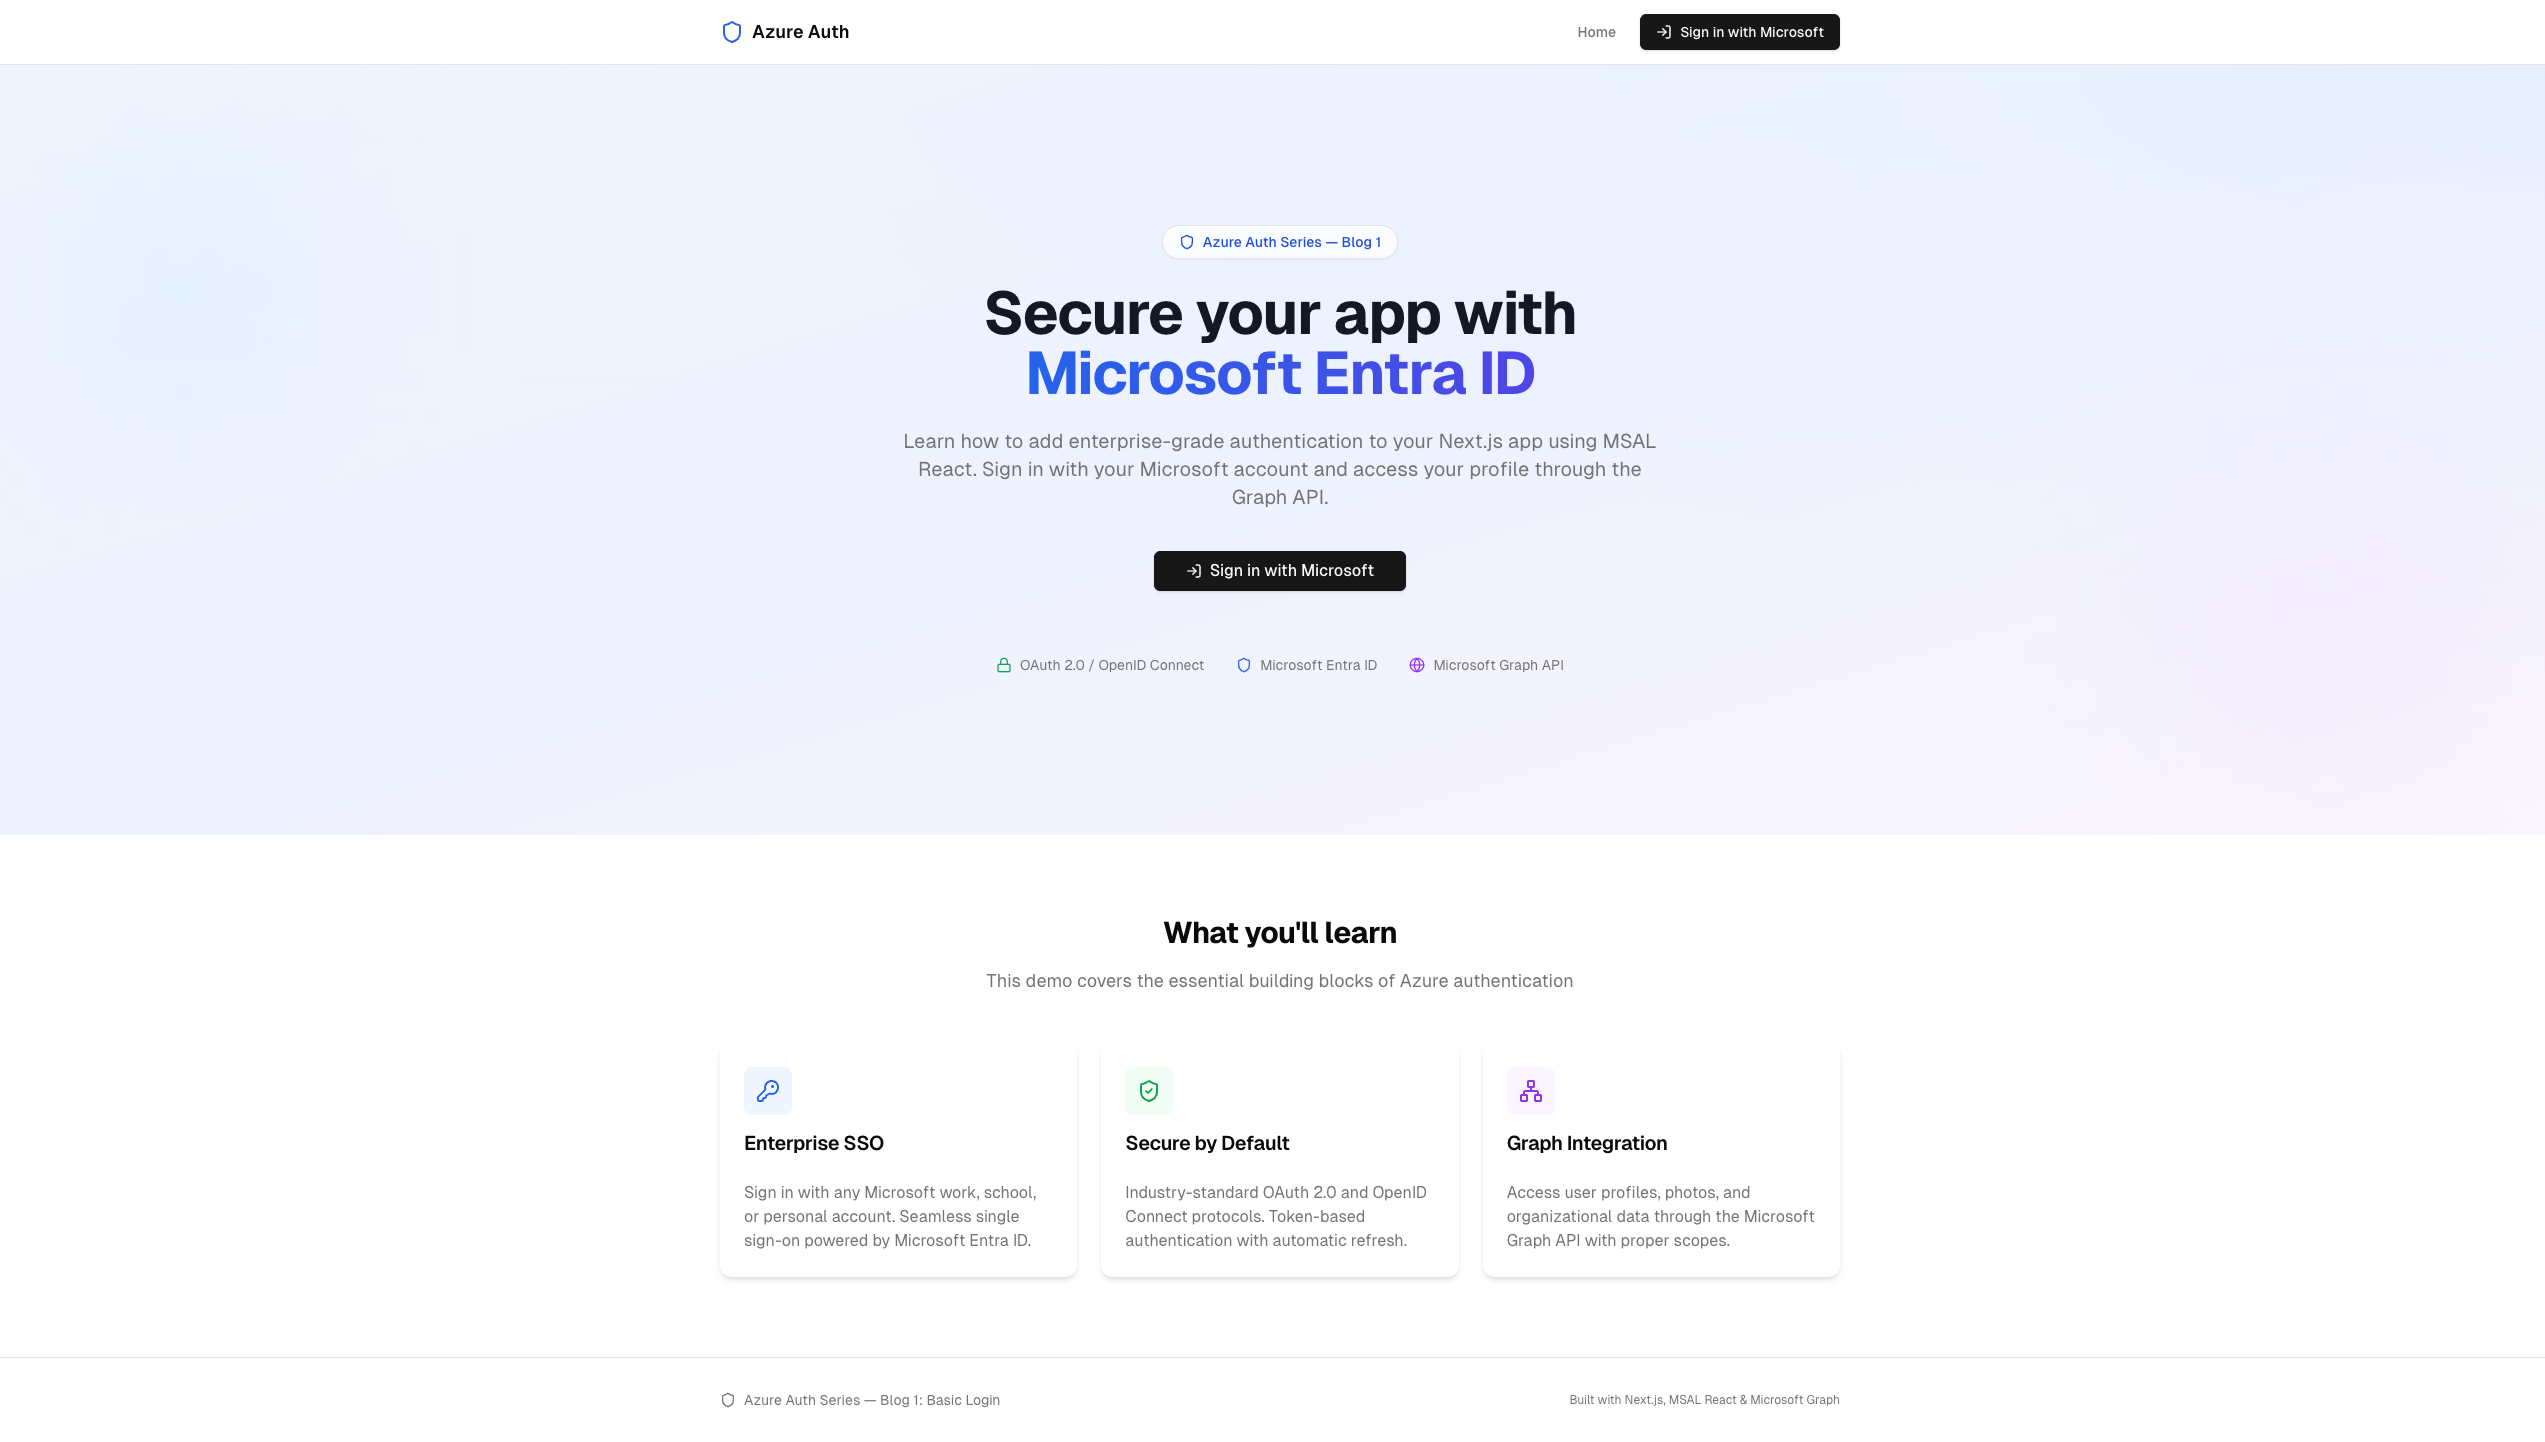 The landing page with Microsoft sign-in, trust indicators, and feature cards
 The protected dashboard showing user profile, auth status, and raw Graph API response
Architecture Overview#
User clicks "Sign in"
        |
+-----------------------------------------------------------+
|                    Next.js Frontend                        |
|                                                           |
|  +-------------+    +--------------+    +--------------+  |
|  | Login Button |--->| MSAL Browser |--->| Popup Window |  |
|  +-------------+    +------+-------+    +------+-------+  |
|                            |                    |          |
|                            |         +----------+          |
|                            v         v                     |
|                    +-------------------+                   |
|                    | Token Cache       |                   |
|                    | (sessionStorage)  |                   |
|                    +--------+----------+                   |
|                             |                              |
|                    +--------+----------+                   |
|                    | useGraph() Hook   |                   |
|                    | acquireTokenSilent|                   |
|                    +--------+----------+                   |
|                             | Bearer token                |
+-----------------------------+------------------------------+
                              v
                    +-------------------+
                    | Microsoft Graph   |
                    | GET /me           |
                    | GET /me/photo     |
                    +-------------------+
                              |
                    +-------------------+
                    | Microsoft         |
                    | Entra ID          |
                    | (login.microsoft  |
                    |  online.com)      |
                    +-------------------+
Key Concepts#
Before we write code, let's clarify the pieces that make this work.
OAuth 2.0 and OpenID Connect#
OAuth 2.0 is an authorization framework — it lets your app request access to resources on behalf of a user. OpenID Connect (OIDC) is a layer on top that adds authentication — it tells your app who the user is.
When a user signs in:
- Your app redirects to Microsoft's login page
- The user enters credentials
- Microsoft returns an authorization code to your app
- Your app exchanges the code for an ID token (who they are) and an access token (what they can access)
MSAL handles all of this for you. You call loginPopup() and get tokens back.
Microsoft Entra ID#
Microsoft Entra ID (formerly Azure Active Directory / Azure AD) is Microsoft's cloud identity service. It manages users, groups, and application access for organizations. Every Azure subscription has a tenant with Entra ID.
MSAL (Microsoft Authentication Library)#
MSAL is the official client library for authenticating with Microsoft identity. We use two packages:
| Package | Purpose |
|---|---|
@azure/msal-browser | Core library — handles token acquisition, caching, popup/redirect flows |
@azure/msal-react | React bindings — provides hooks like useMsal() and useIsAuthenticated() |
Microsoft Graph API#
The Graph API is your gateway to Microsoft 365 data. With the User.Read scope, you can fetch the signed-in user's profile — display name, email, job title, photo, and more.
Step 1: Register Your App in Azure#
Before your app can authenticate users, you need to register it with Microsoft Entra ID. This tells Azure "this application exists and is allowed to sign users in."
Option A: Automated Setup (Recommended)#
I've included a setup script that does everything with the Azure CLI:
# Log in to Azure az login # Run the setup script ./setup.sh # uses default name "Blog1-BasicLogin" ./setup.sh "My App Name" # or pass a custom name
Here's what the script does under the hood:
#!/usr/bin/env bash set -euo pipefail APP_NAME="${1:-Blog1-BasicLogin}" REDIRECT_URI="http://localhost:3000" GRAPH_API="00000003-0000-0000-c000-000000000000" # Microsoft Graph USER_READ="e1fe6dd8-ba31-4d61-89e7-88639da4683d" # User.Read permission ID # 1. Create the app registration with Graph API permission APP_ID=$(az ad app create \ --display-name "$APP_NAME" \ --required-resource-accesses "[{ \"resourceAppId\": \"$GRAPH_API\", \"resourceAccess\": [{ \"id\": \"$USER_READ\", \"type\": \"Scope\" }] }]" \ --query appId --output tsv) # 2. Set the SPA redirect URI OBJ_ID=$(az ad app show --id "$APP_ID" --query id --output tsv) az rest --method PATCH \ --uri "https://graph.microsoft.com/v1.0/applications/$OBJ_ID" \ --headers "Content-Type=application/json" \ --body "{\"spa\":{\"redirectUris\":[\"$REDIRECT_URI\"]}}" # 3. Write environment variables TENANT_ID=$(az account show --query tenantId --output tsv) cat > frontend/.env.local <<EOF NEXT_PUBLIC_AZURE_CLIENT_ID=$APP_ID NEXT_PUBLIC_AZURE_TENANT_ID=$TENANT_ID EOF
Three things happen:
- App registration is created with the
User.ReadGraph API permission - SPA redirect URI is set to
http://localhost:3000(required for the popup flow) - Environment variables are written to
frontend/.env.local
Option B: Azure Portal (Manual)#
- Go to Azure Portal → Microsoft Entra ID → App registrations → New registration
- Set a Name and Redirect URI → Platform: SPA →
http://localhost:3000 - Click Register
- Copy the Application (client) ID and Directory (tenant) ID
- Verify
User.Readis under API permissions - Create
frontend/.env.local:
NEXT_PUBLIC_AZURE_CLIENT_ID=your-client-id NEXT_PUBLIC_AZURE_TENANT_ID=your-tenant-id
Why SPA? We're using the Authorization Code Flow with PKCE, which is the recommended flow for single-page apps. Setting the redirect URI as SPA tells Entra ID to enable this flow without requiring a client secret.
Step 2: Project Structure#
01_basic_login/
├── setup.sh                     # Creates Azure AD app registration
├── cleanup.sh                   # Removes app registration
└── frontend/
    ├── src/
    │   ├── app/
    │   │   ├── layout.tsx              # Root layout — MsalProvider + Navbar + Footer
    │   │   ├── page.tsx                # Landing page — Hero + Features
    │   │   └── dashboard/
    │   │       └── page.tsx            # Protected dashboard — profile + token info
    │   ├── components/
    │   │   ├── auth/
    │   │   │   ├── msal-provider.tsx   # MSAL singleton + provider wrapper
    │   │   │   ├── login-button.tsx    # Sign in with popup
    │   │   │   ├── logout-button.tsx   # Sign out with popup
    │   │   │   └── user-profile.tsx    # Avatar + dropdown menu
    │   │   ├── layout/
    │   │   │   ├── navbar.tsx          # Responsive nav with auth state
    │   │   │   └── footer.tsx          # Site footer
    │   │   └── landing/
    │   │       ├── hero.tsx            # Hero section with CTA
    │   │       └── features.tsx        # Feature cards
    │   ├── config/
    │   │   └── auth-config.ts          # MSAL configuration + scopes
    │   ├── hooks/
    │   │   └── use-graph.ts            # Token acquisition + Graph API calls
    │   ├── lib/
    │   │   └── graph.ts                # Graph API helper functions
    │   └── types/
    │       └── index.ts                # TypeScript interfaces
    ├── .env.local.example
    └── package.json
Key Dependencies#
npm install @azure/msal-browser @azure/msal-react
| Package | Version | Purpose |
|---|---|---|
@azure/msal-browser | ^3.30.0 | Core MSAL library for browsers |
@azure/msal-react | ^2.2.0 | React hooks and components |
next | 14.2.x | App Router framework |
@radix-ui/* | Various | Headless UI primitives (shadcn/ui) |
lucide-react | ^0.575.0 | Icon library |
tailwindcss | ^3.4.x | Utility-first CSS |
Step 3: MSAL Configuration#
The first file to set up is the MSAL configuration. This tells the library who your app is, where to redirect after login, and what permissions to request.
File: src/config/auth-config.ts
import { Configuration, LogLevel } from "@azure/msal-browser"; export const msalConfig: Configuration = { auth: { clientId: process.env.NEXT_PUBLIC_AZURE_CLIENT_ID || "", authority: `https://login.microsoftonline.com/${ process.env.NEXT_PUBLIC_AZURE_TENANT_ID || "common" }`, redirectUri: "/", postLogoutRedirectUri: "/", navigateToLoginRequestUrl: false, }, cache: { cacheLocation: "sessionStorage", storeAuthStateInCookie: false, }, system: { loggerOptions: { loggerCallback: (level, message, containsPii) => { if (containsPii) return; // Never log PII switch (level) { case LogLevel.Error: console.error(message); break; case LogLevel.Warning: console.warn(message); break; } }, logLevel: LogLevel.Warning, }, }, }; export const loginRequest = { scopes: ["User.Read"], }; export const graphConfig = { graphMeEndpoint: "https://graph.microsoft.com/v1.0/me", graphMePhotoEndpoint: "https://graph.microsoft.com/v1.0/me/photo/$value", };
Let's break down the important parts:
| Setting | Value | Why |
|---|---|---|
clientId | From .env.local | Identifies your app to Entra ID |
authority | login.microsoftonline.com/{tenantId} | Single-tenant: only users from your org. Use common for multi-tenant |
redirectUri | / | Where to send the auth code after login |
cacheLocation | sessionStorage | Tokens cleared when the browser tab closes |
storeAuthStateInCookie | false | Not needed for modern browsers |
navigateToLoginRequestUrl | false | Prevents redirect loops with popup flow |
The loginRequest defines the scopes — permissions your app requests. User.Read allows reading the signed-in user's profile from Graph API.
Step 4: MSAL Provider — The Singleton Pattern#
MSAL needs to be initialized once and wrapped around your entire app. This is the most critical piece — get it wrong and you'll see cryptic token errors.
File: src/components/auth/msal-provider.tsx
"use client"; import { ReactNode, useEffect, useState } from "react"; import { PublicClientApplication, EventType, AuthenticationResult, } from "@azure/msal-browser"; import { MsalProvider } from "@azure/msal-react"; import { msalConfig } from "@/config/auth-config"; // Singleton — created once at module scope, shared across the app const msalInstance = new PublicClientApplication(msalConfig); export function MsalProviderWrapper({ children }: { children: ReactNode }) { const [isInitialized, setIsInitialized] = useState(false); useEffect(() => { const init = async () => { // 1. Initialize the MSAL instance await msalInstance.initialize(); // 2. Handle any pending redirect responses await msalInstance.handleRedirectPromise(); // 3. Restore active account from cache const accounts = msalInstance.getAllAccounts(); if (accounts.length > 0) { msalInstance.setActiveAccount(accounts[0]); } // 4. Listen for login events to set the active account msalInstance.addEventCallback((event) => { if ( event.eventType === EventType.LOGIN_SUCCESS && event.payload ) { const payload = event.payload as AuthenticationResult; msalInstance.setActiveAccount(payload.account); } }); setIsInitialized(true); }; init(); }, []); if (!isInitialized) { return ( <div className="flex min-h-screen items-center justify-center"> <div className="h-8 w-8 animate-spin rounded-full border-4 border-primary border-t-transparent" /> </div> ); } return <MsalProvider instance={msalInstance}>{children}</MsalProvider>; }
Three critical patterns here:
-
Singleton at module scope —
PublicClientApplicationmust be created once. If you create it inside a component, React re-renders will spawn multiple instances and break token caching. -
Async initialization — MSAL v3 requires explicit
initialize()before any other calls. We show a spinner until it's ready. -
Event callback — After a successful login, we immediately set the active account. This ensures
useMsal()anduseIsAuthenticated()reflect the correct state everywhere.
Wiring It Into the Root Layout#
File: src/app/layout.tsx
import { MsalProviderWrapper } from "@/components/auth/msal-provider"; import { Navbar } from "@/components/layout/navbar"; import { Footer } from "@/components/layout/footer"; export default function RootLayout({ children, }: { children: React.ReactNode; }) { return ( <html lang="en"> <body> <MsalProviderWrapper> <Navbar /> <main className="flex-1">{children}</main> <Footer /> </MsalProviderWrapper> </body> </html> ); }
Everything inside <MsalProviderWrapper> now has access to MSAL hooks.
Step 5: Login and Logout#
With MSAL initialized, the actual sign-in and sign-out components are remarkably simple.
Login Button#
File: src/components/auth/login-button.tsx
"use client"; import { useMsal } from "@azure/msal-react"; import { loginRequest } from "@/config/auth-config"; import { Button } from "@/components/ui/button"; import { LogIn } from "lucide-react"; export function LoginButton() { const { instance } = useMsal(); const handleLogin = () => { instance.loginPopup(loginRequest); }; return ( <Button onClick={handleLogin} className="gap-2"> <LogIn className="h-4 w-4" /> Sign in with Microsoft </Button> ); }
That's it. One hook, one function call. loginPopup(loginRequest) opens a popup window with Microsoft's login page, handles the OAuth flow, and returns tokens. The loginRequest object tells Entra ID to grant the User.Read scope.
Logout Button#
File: src/components/auth/logout-button.tsx
"use client"; import { useMsal } from "@azure/msal-react"; import { Button } from "@/components/ui/button"; import { LogOut } from "lucide-react"; export function LogoutButton() { const { instance } = useMsal(); const handleLogout = () => { instance.logoutPopup({ postLogoutRedirectUri: "/", mainWindowRedirectUri: "/", }); }; return ( <Button variant="ghost" onClick={handleLogout} className="gap-2"> <LogOut className="h-4 w-4" /> Sign out </Button> ); }
Why popup instead of redirect? With Next.js App Router, the redirect flow can conflict with client-side routing. The popup approach keeps your app's navigation state intact — no page reloads, no lost state.
Step 6: Fetching User Data from Graph API#
After sign-in, we have an access token. Now let's use it to call the Microsoft Graph API and fetch the user's profile.
Graph API Helpers#
File: src/lib/graph.ts
import { graphConfig } from "@/config/auth-config"; import { GraphUserProfile } from "@/types"; export async function callMsGraph( accessToken: string ): Promise<GraphUserProfile> { const response = await fetch(graphConfig.graphMeEndpoint, { headers: { Authorization: `Bearer ${accessToken}`, }, }); if (!response.ok) { throw new Error(`Graph API error: ${response.status}`); } return response.json(); } export async function getProfilePhoto( accessToken: string ): Promise<string | null> { try { const response = await fetch(graphConfig.graphMePhotoEndpoint, { headers: { Authorization: `Bearer ${accessToken}`, }, }); if (!response.ok) return null; const blob = await response.blob(); return URL.createObjectURL(blob); } catch { return null; } }
Both functions attach the access token as a Bearer token in the Authorization header — the standard pattern for calling any OAuth-protected API. The photo endpoint returns a blob that we convert to an Object URL for display in an <img> tag.
The useGraph Hook — Token Acquisition + Data Fetching#
This is the most important custom hook in the app. It handles token acquisition with automatic refresh and fetches profile data in parallel.
File: src/hooks/use-graph.ts
"use client"; import { useState, useEffect, useCallback } from "react"; import { useMsal } from "@azure/msal-react"; import { InteractionRequiredAuthError } from "@azure/msal-browser"; import { loginRequest } from "@/config/auth-config"; import { callMsGraph, getProfilePhoto } from "@/lib/graph"; import { GraphUserProfile } from "@/types"; export function useGraph() { const { instance, accounts } = useMsal(); const [graphData, setGraphData] = useState<GraphUserProfile | null>(null); const [photoUrl, setPhotoUrl] = useState<string | null>(null); const [loading, setLoading] = useState(true); const [error, setError] = useState<string | null>(null); const fetchData = useCallback(async () => { if (accounts.length === 0) { setLoading(false); return; } setLoading(true); setError(null); try { // 1. Try silent token acquisition (uses cached tokens) let tokenResponse; try { tokenResponse = await instance.acquireTokenSilent({ ...loginRequest, account: accounts[0], }); } catch (silentError) { // 2. If silent fails, fall back to popup if (silentError instanceof InteractionRequiredAuthError) { tokenResponse = await instance.acquireTokenPopup(loginRequest); } else { throw silentError; } } // 3. Fetch profile and photo in parallel const [profile, photo] = await Promise.all([ callMsGraph(tokenResponse.accessToken), getProfilePhoto(tokenResponse.accessToken), ]); setGraphData(profile); setPhotoUrl(photo); } catch (err) { setError( err instanceof Error ? err.message : "Failed to fetch profile data" ); } finally { setLoading(false); } }, [instance, accounts]); useEffect(() => { fetchData(); }, [fetchData]); return { graphData, photoUrl, loading, error, refetch: fetchData }; }
The token acquisition pattern is key:
acquireTokenSilent()  --success-->  Use cached token
        |
    fails with
InteractionRequiredAuthError
        |
        v
acquireTokenPopup()   --success-->  Fresh token via popup
acquireTokenSilent checks the cache first, then attempts a hidden iframe refresh. If the token is expired and can't be refreshed silently (e.g., the user needs to re-consent), it throws InteractionRequiredAuthError. We catch that specific error and fall back to a popup — this gives users a seamless experience where they rarely see a login prompt.
Step 7: The Protected Dashboard#
This is where everything comes together. The dashboard displays user profile data from Graph API and authentication metadata from MSAL.
File: src/app/dashboard/page.tsx
"use client"; import { useIsAuthenticated, useMsal } from "@azure/msal-react"; import { useGraph } from "@/hooks/use-graph"; import { LoginButton } from "@/components/auth/login-button"; import { Card, CardContent, CardHeader, CardTitle } from "@/components/ui/card"; import { Avatar, AvatarFallback, AvatarImage } from "@/components/ui/avatar"; import { ShieldCheck } from "lucide-react"; function DashboardContent() { const { accounts } = useMsal(); const { graphData, photoUrl, loading, error, refetch } = useGraph(); const account = accounts[0]; if (loading) { return ( <div className="flex items-center justify-center py-20"> <div className="h-8 w-8 animate-spin rounded-full border-4 border-primary border-t-transparent" /> <p className="text-sm text-muted-foreground"> Loading your profile... </p> </div> ); } const initials = graphData?.displayName ? graphData.displayName .split(" ") .map((n) => n[0]) .join("") .toUpperCase() .slice(0, 2) : "U"; return ( <div className="grid gap-6 md:grid-cols-3"> {/* Profile card */} <Card className="md:col-span-1"> <CardHeader className="text-center"> <Avatar className="mx-auto h-24 w-24"> {photoUrl && <AvatarImage src={photoUrl} />} <AvatarFallback>{initials}</AvatarFallback> </Avatar> <CardTitle className="mt-4"> {graphData?.displayName} </CardTitle> </CardHeader> {/* Profile fields: email, job title, office, phone */} </Card> {/* Auth status + Graph data */} <div className="space-y-6 md:col-span-2"> <Card> <CardHeader> <CardTitle className="flex items-center gap-2"> <ShieldCheck className="h-5 w-5 text-green-600" /> Authentication Status </CardTitle> </CardHeader> <CardContent> {/* Account name, username, tenant ID, home account ID */} </CardContent> </Card> <Card> <CardHeader> <CardTitle>Microsoft Graph Profile</CardTitle> </CardHeader> <CardContent> <pre className="overflow-auto rounded-lg bg-muted p-4 text-xs"> {JSON.stringify(graphData, null, 2)} </pre> </CardContent> </Card> </div> </div> ); } export default function DashboardPage() { const isAuthenticated = useIsAuthenticated(); return ( <div className="container mx-auto max-w-6xl px-4 py-8"> <h1 className="text-3xl font-bold tracking-tight">Dashboard</h1> <p className="text-muted-foreground"> Your profile and authentication details </p> {isAuthenticated ? ( <DashboardContent /> ) : ( <Card className="mx-auto max-w-md mt-8"> <CardContent className="flex flex-col items-center gap-4 py-12"> <ShieldCheck className="h-12 w-12 text-muted-foreground" /> <h2 className="text-lg font-semibold">Sign in required</h2> <LoginButton /> </CardContent> </Card> )} </div> ); }
The useIsAuthenticated() hook from MSAL React gives us a boolean — if the user isn't signed in, we show a prompt with the login button instead of the dashboard content.
The dashboard shows three sections:
- Profile card — avatar (with initials fallback), display name, email, job title
- Auth status — account metadata from MSAL (tenant ID, home account ID)
- Graph data — raw JSON response, useful for debugging and understanding what data is available
Conditional UI Based on Auth State#
Notice how the landing page also adapts. When authenticated, the hero CTA changes from "Sign in with Microsoft" to "Go to Dashboard", and the navbar shows the user's avatar with a dropdown menu:
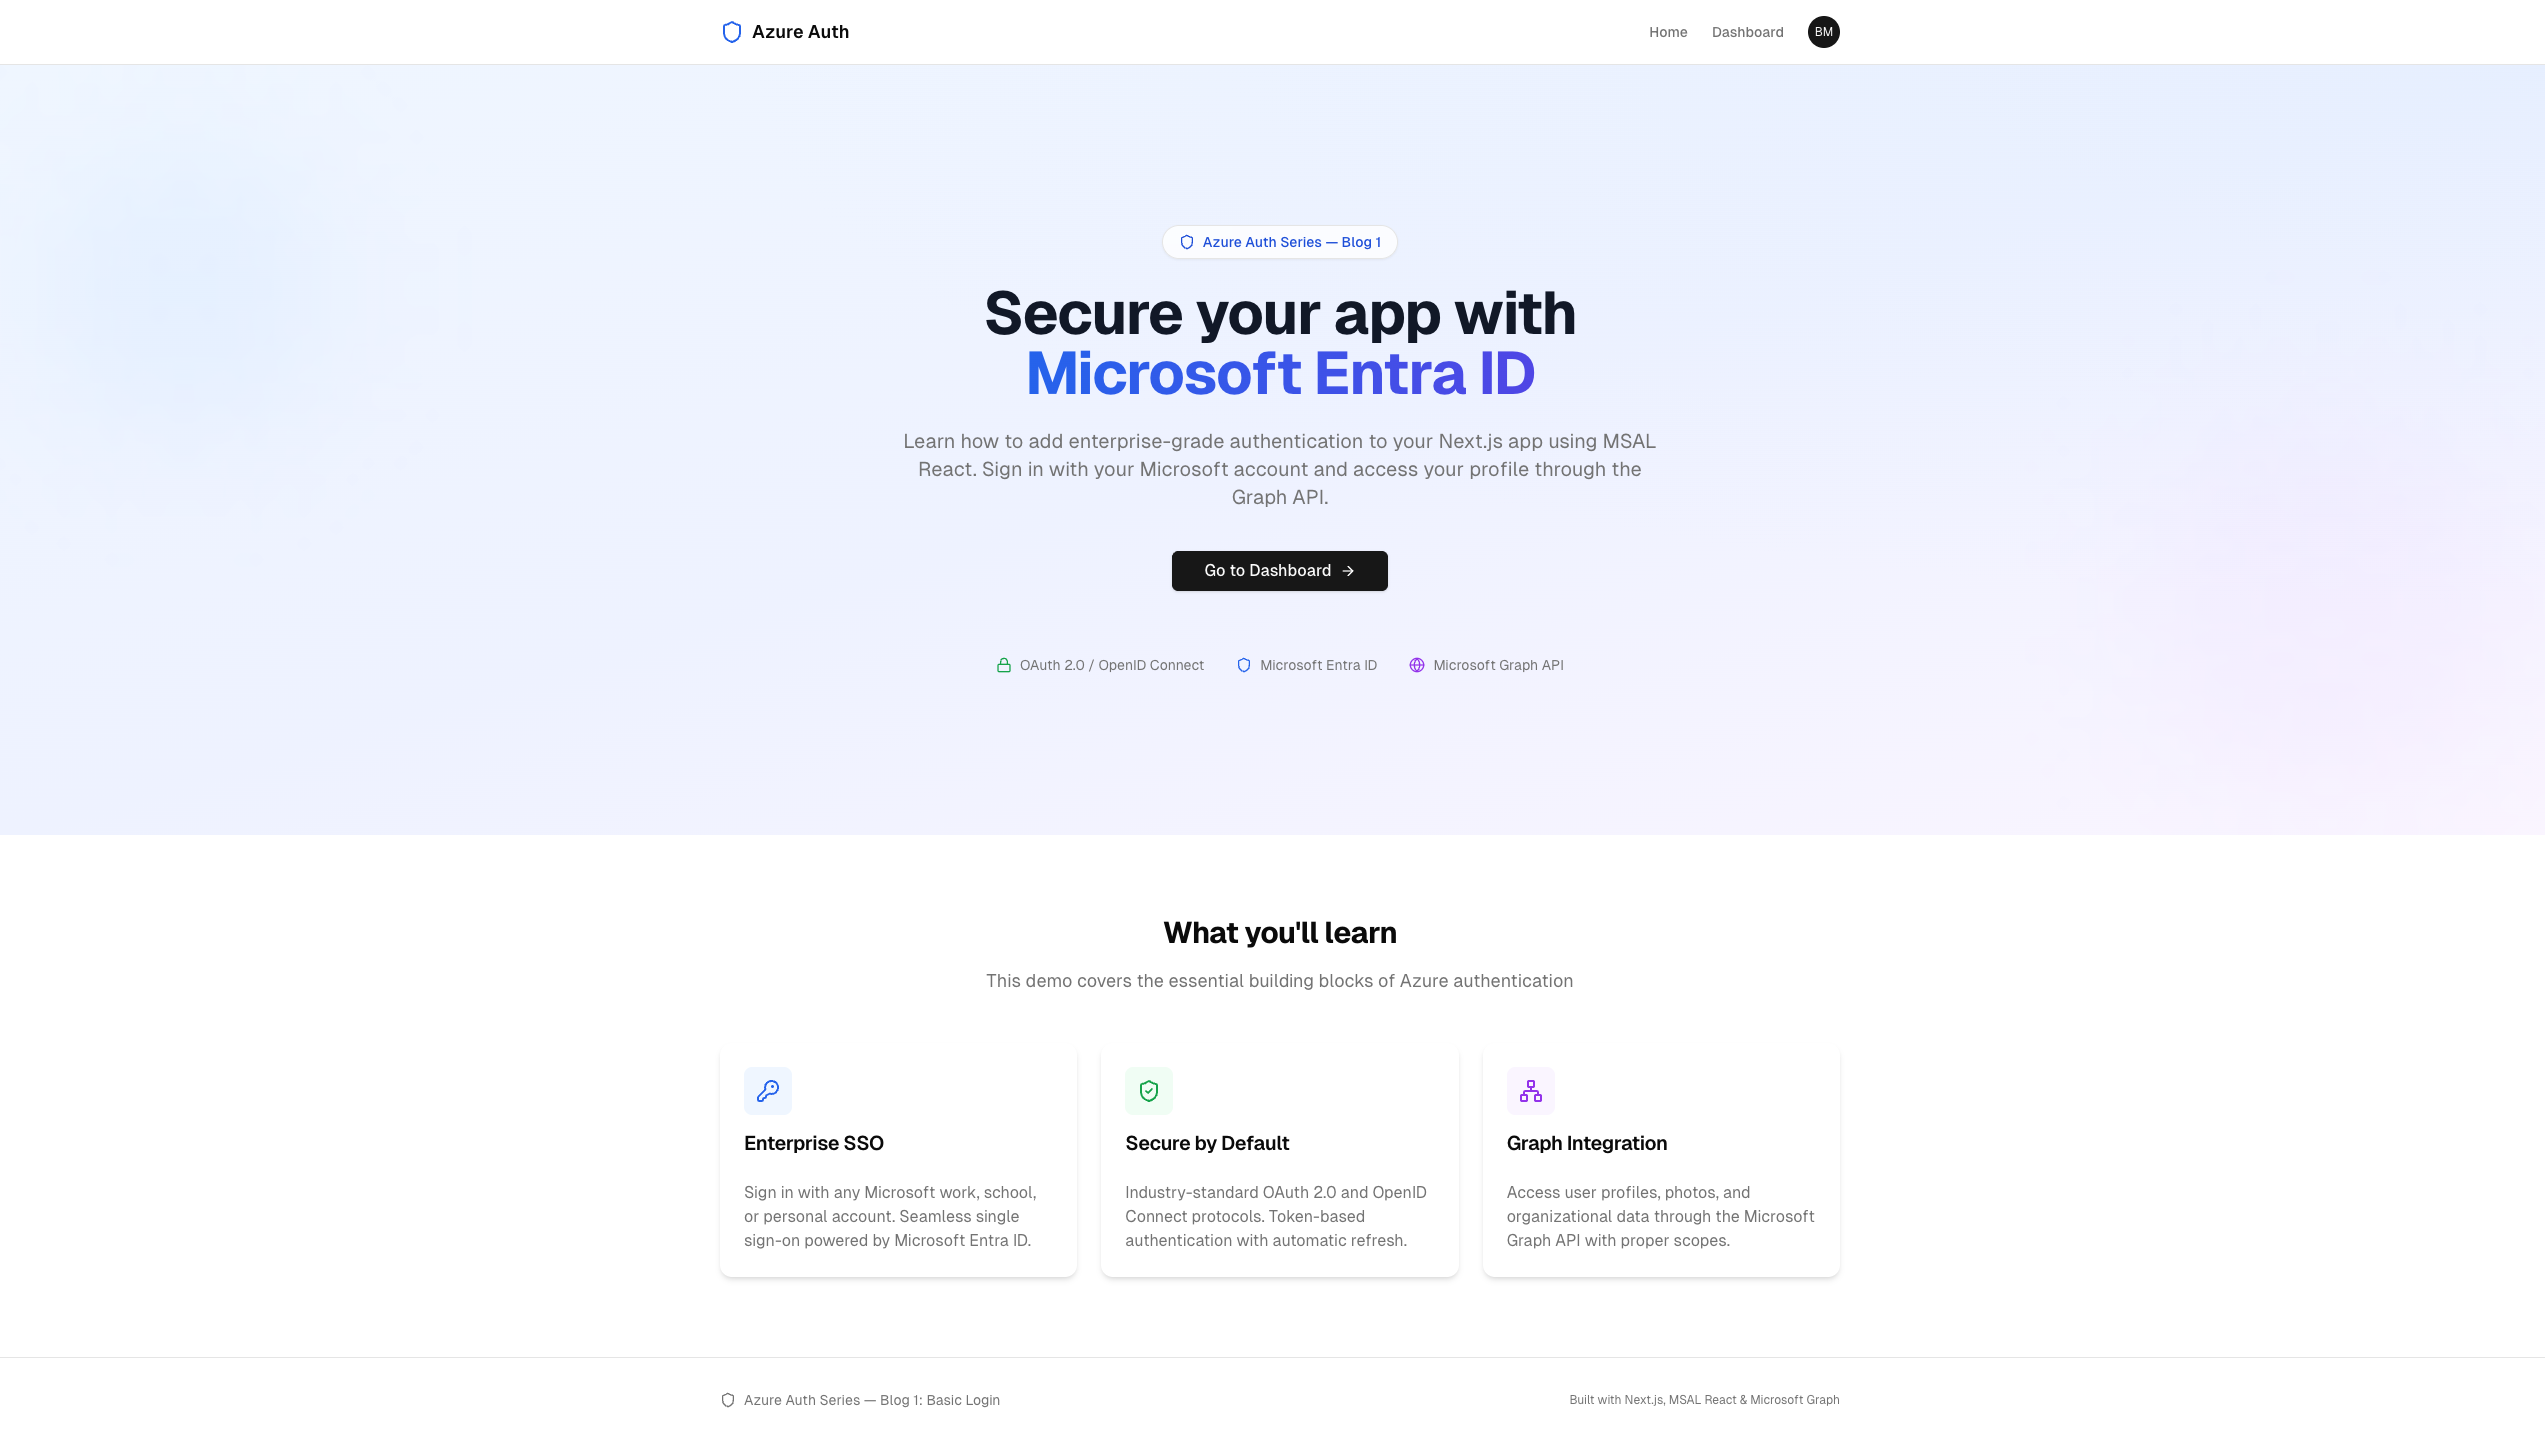 After sign-in: CTA becomes "Go to Dashboard", avatar appears in navbar
 The avatar dropdown showing user info, dashboard link, and sign out
This is powered by MSAL's useIsAuthenticated() hook in the Hero component:
"use client"; import { useIsAuthenticated, useMsal } from "@azure/msal-react"; export function Hero() { const isAuthenticated = useIsAuthenticated(); const { instance } = useMsal(); return ( <section> {/* ... */} {isAuthenticated ? ( <Button asChild> <Link href="/dashboard"> Go to Dashboard <ArrowRight /> </Link> </Button> ) : ( <Button onClick={() => instance.loginPopup(loginRequest)}> <LogIn /> Sign in with Microsoft </Button> )} </section> ); }
The Complete Authentication Flow#
Let's trace exactly what happens when a user clicks "Sign in with Microsoft":
 User              Browser             MSAL            Entra ID       Graph API
  |                   |                  |                 |               |
  |-- Click --------->|                  |                 |               |
  |  "Sign in"        |-- loginPopup()-->|                 |               |
  |                   |                  |-- Open popup -->|               |
  |                   |                  |                 |               |
  |<-- Enter credentials ---------------------------------|               |
  |                   |                  |                 |               |
  |                   |                  |<-- Auth code ---|               |
  |                   |                  |                 |               |
  |                   |                  |-- Exchange ---->|               |
  |                   |                  |    code         |               |
  |                   |                  |<-- ID token ----|               |
  |                   |                  |    + Access     |               |
  |                   |                  |    token        |               |
  |                   |                  |                 |               |
  |                   |<- setActive -----|                 |               |
  |                   |   Account        |                 |               |
  |                   |   (popup closes) |                 |               |
  |                   |                  |                 |               |
  |-- Navigate to --->|                  |                 |               |
  |   /dashboard      |                  |                 |               |
  |                   |-- acquireToken---|                 |               |
  |                   |   Silent (cache) |                 |               |
  |                   |<- Access token --|                 |               |
  |                   |                  |                 |               |
  |                   |-- GET /me ---------------------------------------->|
  |                   |-- GET /me/photo ------------------------------------->|
  |                   |<-- Profile + Photo --------------------------------|
  |                   |                  |                 |               |
  |<-- Render --------|                  |                 |               |
  |   dashboard       |                  |                 |               |
Key things to notice:
- The OAuth exchange (code to tokens) happens entirely in the popup. Your main app never leaves the page.
- Token acquisition for Graph API uses
acquireTokenSilent— no user interaction needed, it reads from cache. - Profile and photo are fetched in parallel with
Promise.allfor speed.
TypeScript Interfaces#
The Graph API returns a rich user profile. We type it for safety:
File: src/types/index.ts
export interface GraphUserProfile { displayName: string; givenName: string; surname: string; userPrincipalName: string; mail: string | null; id: string; jobTitle: string | null; officeLocation: string | null; mobilePhone: string | null; businessPhones: string[]; }
This matches the shape of the Graph API /me endpoint response. Fields like jobTitle and officeLocation can be null if not set in the user's directory profile.
Running the App#
# 1. Register the app az login ./setup.sh # 2. Install and run cd frontend npm install npm run dev
Open http://localhost:3000. You'll see the landing page with a "Sign in with Microsoft" button. Click it, authenticate in the popup, and you'll land on the dashboard showing your profile.
Cleanup#
When you're done, remove the app registration:
./cleanup.sh
This deletes the Entra ID app registration and removes frontend/.env.local.
Common Pitfalls#
1. "interaction_in_progress" Error#
If you see this, it means MSAL is already handling a login/token request when another one starts. This usually happens when you call loginPopup twice (e.g., double-clicking the button) or a redirect promise is still being processed.
Fix: Always await msalInstance.handleRedirectPromise() during initialization before making any other calls.
2. "AADSTS700051: response_type not enabled"#
Your app registration's redirect URI is not configured as SPA. It might be set as "Web" instead.
Fix: In the Azure Portal, go to Authentication and ensure the redirect URI is under the Single-page application section, not "Web".
3. Token Cache Not Working Across Tabs#
Tokens are stored in sessionStorage by default. If you open the app in a new tab, the user will need to sign in again.
Fix: Change cacheLocation to localStorage if you want sessions to persist across tabs. Be aware of the security tradeoff — localStorage is accessible to all JavaScript on the same origin.
4. Profile Photo Returns 404#
Not all Microsoft accounts have a photo set. The getProfilePhoto function handles this gracefully by returning null, and the UI falls back to displaying initials.
What's Next#
In Blog 2: Protected API, we'll:
- Build a FastAPI backend with JWT token validation
- Create protected endpoints that only authenticated users can access
- Call the backend API from our Next.js frontend using the access token
- Learn about token validation, scopes, and API permissions
The foundation we built here — MSAL initialization, token acquisition, and the silent-refresh pattern — carries directly into every subsequent blog in the series.
Conclusion#
You've built a complete authentication flow with Microsoft Entra ID that:
- Signs users in with a popup-based OAuth 2.0 / OIDC flow
- Manages tokens automatically with MSAL's cache and silent refresh
- Fetches user profiles from the Microsoft Graph API
- Protects pages with conditional rendering based on auth state
- Handles edge cases like token expiry, missing photos, and loading states
The total auth-specific code is around 200 lines — MSAL does the heavy lifting. What matters is understanding why each piece exists: the singleton pattern prevents duplicate instances, the silent-first token strategy minimizes user friction, and the event callback keeps auth state synchronized.
Resources#
- Source Code: GitHub — azure_auth_series/01_basic_login
- MSAL React Docs: Microsoft — MSAL React
- Microsoft Graph API: Graph Explorer
- Microsoft Entra ID: Entra ID Documentation
- OAuth 2.0 Auth Code Flow with PKCE: Microsoft — Auth Code Flow
Happy authenticating!